While setting up the environmenty and solving DIVA, I did few reddendent steps and followed a long way becasue my objective was not just to solve the app and show you, but to learn more and more methods and the mistaked I did while solving this. So if you don’t like any step or part, feel free to skip it.
Let’s start by downloading DIVA APK from the official site of Payatu.
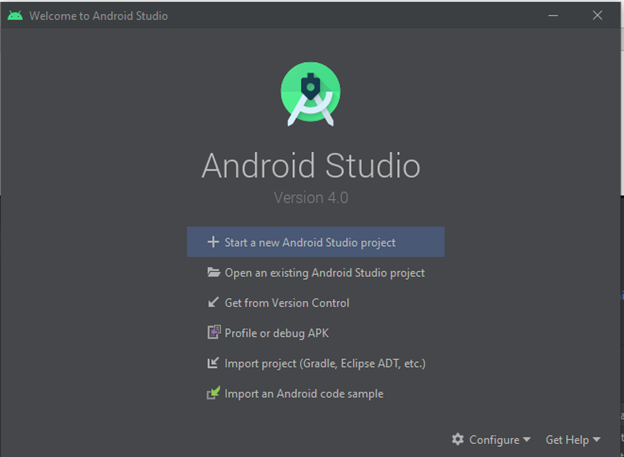
Then we need to download Android Studio to emulate our Android phone.
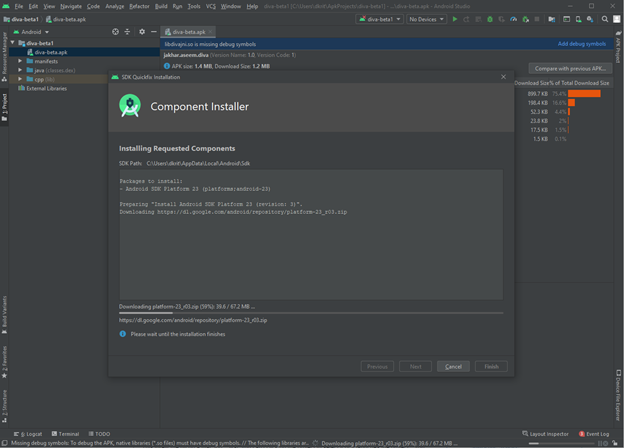
Click on profile or debug APK

When you open your APK make sure it install SDK or if doesn’t do itself, just close the project and reopen again, or find a manual way to do it
Now click on No Device and click on Open AVD Manager

Click on Create Virtual Device
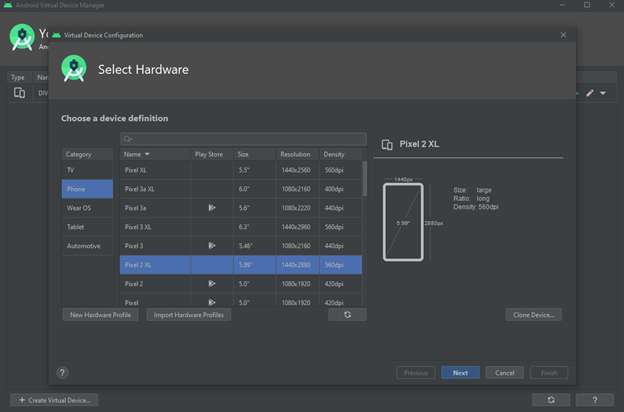
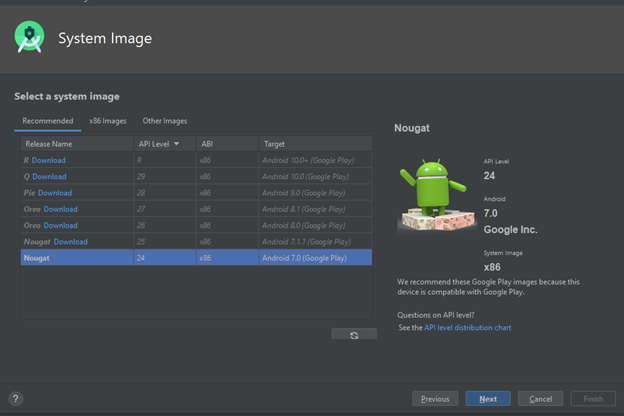
Pick the device you want as a virtual device but make sure to select a device without playstore because if you select the device with playstore it won’t allow you to access as root with adb-shell
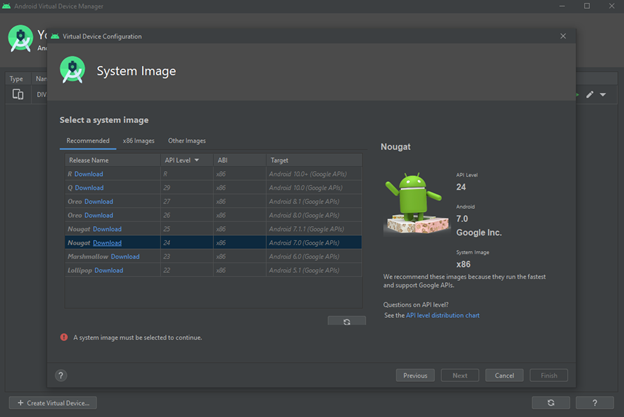
Click the image which you want to install, in our case we will go with Nougat for stability
Once the OS is downloaded click the image and proceed to next step
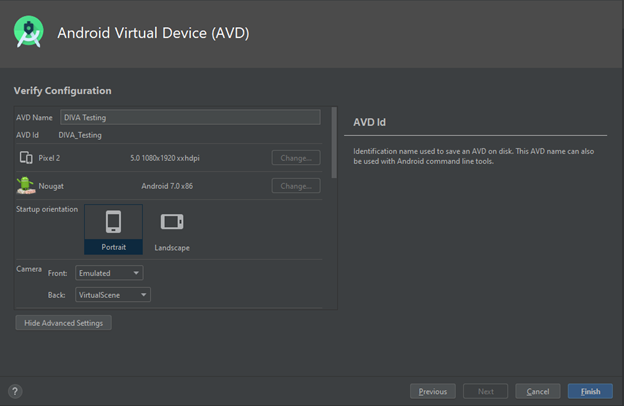
Change the name of the Device as per your wish and proceed to finish
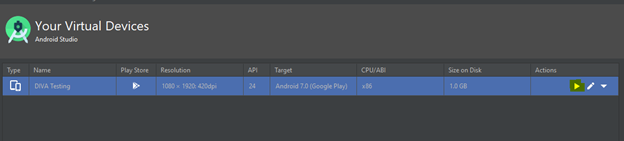
Now click launch
Once we setup the emulator we can see the device showing in our project to be launched
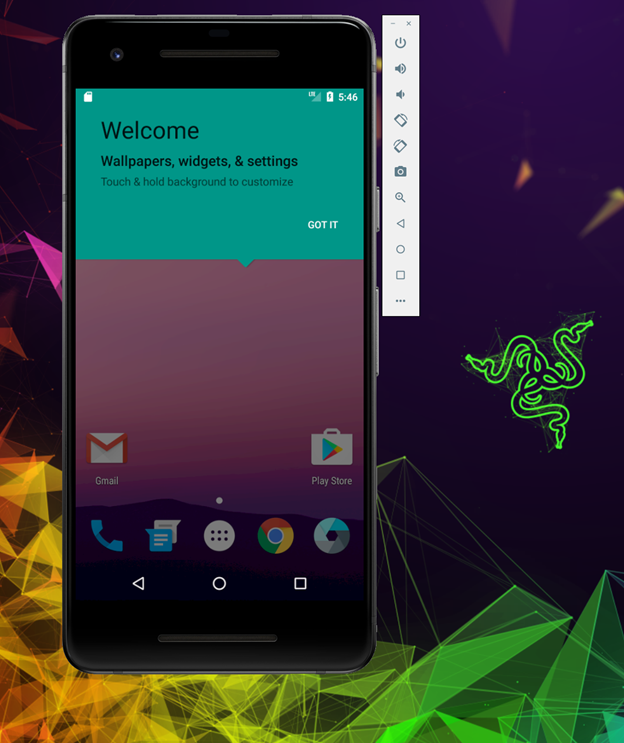
And we got the emulator up and running
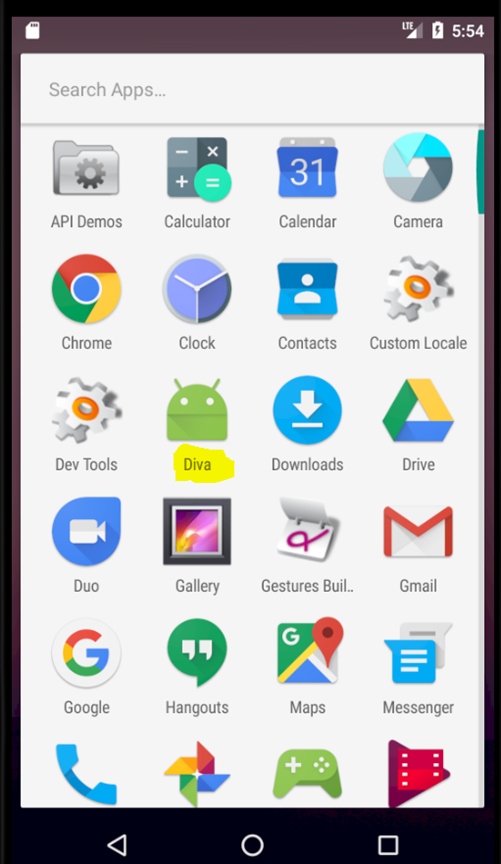
If it couldn’t see the DIVA application then you must have missed some steps, try doing it again.
Now download and install the following tools which we could require for latter debugging
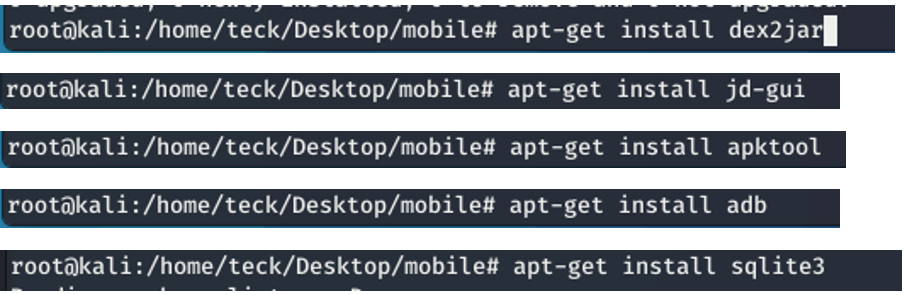
• apt-get install dex2jar
• apt-get install jd-gui
• apt-get install apktool
• apt-get install abd
• apt-get install sqlite3
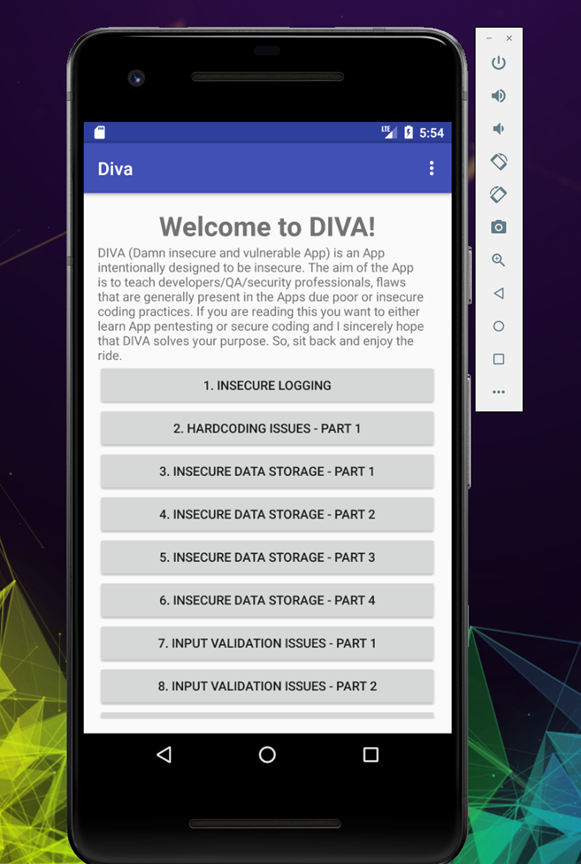
We are done with all the setup, time to do some action now.
Twitter / Hack The Box / CTF Team / Teck_N00bs Community Telegram
Comments